.png)
How to Fix a Leaky Faucet in 5 Minutes
- Devan H
- Jan 31, 2025
- 2 min read

Updated: Jan 31, 2025

A dripping faucet isn’t just annoying - it can waste gallons of water and increase your utility bill. Luckily, most leaks are caused by a worn-out washer or O-ring, and you can fix them in just a few minutes with basic tools.
What You’ll Need to Fix the Faucet:
Adjustable wrench
Phillips screwdriver
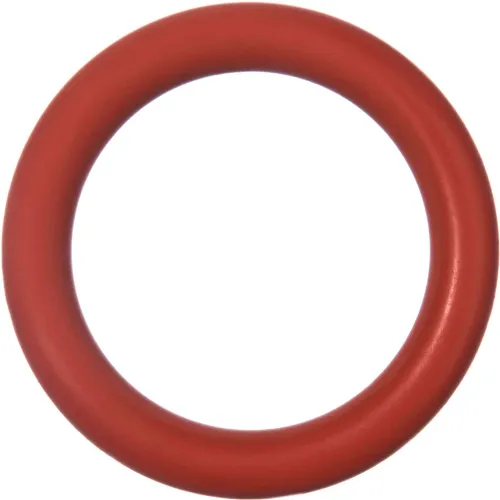
Replacement washer or O-ring (match the size to your faucet type)
Towel or small bucket (to catch any water)


Step-by-Step Guide to Fix the Leak
Turn Off the Water
Look under the sink and turn the shut-off valves clockwise to stop the water flow.
If you don’t have shut-off valves, turn off the main water supply.
Remove the Faucet Handle
Use a screwdriver to remove the screw under or behind the handle.
Gently pull off the handle to expose the cartridge or stem.
Take Out the Cartridge or Stem
Use an adjustable wrench to loosen and remove the faucet stem.
Check for worn washers or O-rings—this is usually the cause of the leak.
Replace the Washer or O-Ring
Remove the old washer or O-ring and replace it with a new one of the same size.
Apply a small amount of plumber’s grease to help with sealing.
Reassemble and Test
Reinstall the faucet stem and tighten it with the wrench.
Reattach the handle and turn the water supply back on.
Test the faucet—if it still drips, double-check that the washer is properly installed.

You are now a DIY for fixing leaky faucets
That’s it! A quick and simple fix that saves you money and prevents further water damage. If the leak persists, the faucet cartridge might need replacing, but in most cases, this simple repair does the trick.
Would you like me to optimize this for SEO keywords or tweak the format to make it even shorter?
Comments